

Fayston, Vermont. As the Christmas decorations push out Halloween, I begin to work on my photo calendar gift that’s become a family tradition. When my son was young, the calendar featured twelve months of him. The grandparents loved it. The images not only chronicled his growth but also sparked memories of all the things we did the previous year. As he grew older, sometimes I added a baby picture: I did the “How It Started” and “How It’s Going” thing long before it became a social media thing, even before social media was a thing.
I thought I was finished with crafting calendars when my son graduated from high school, but, at the request of family, the tradition continues with my dogs as calendar subjects. Now my son receives a calendar, too.
The customized flip calendar is an appreciated and practical gift, especially for family members that I don’t see often, which is everybody this year. Even though I keep my personal calendar on my phone, the paper version hangs in the kitchen with car appointments and other goings-on that perhaps my household should be aware.
What follows are my tips for tackling the photo calendar project in time for gift-giving this year:
Gather your photo files. I begin this project by going through my photos from the past year and pulling potential images into a “calendar” folder on my computer. Some years I’ve been organized enough to create this folder in January, but not this year. I start with my “favorites” folder in iPhoto and also go through my Instagram feed, then find and copy the source file of the image – the unedited one – to the calendar folder. Sometimes I go back more than a year to mark a “gotcha” day or other memory.
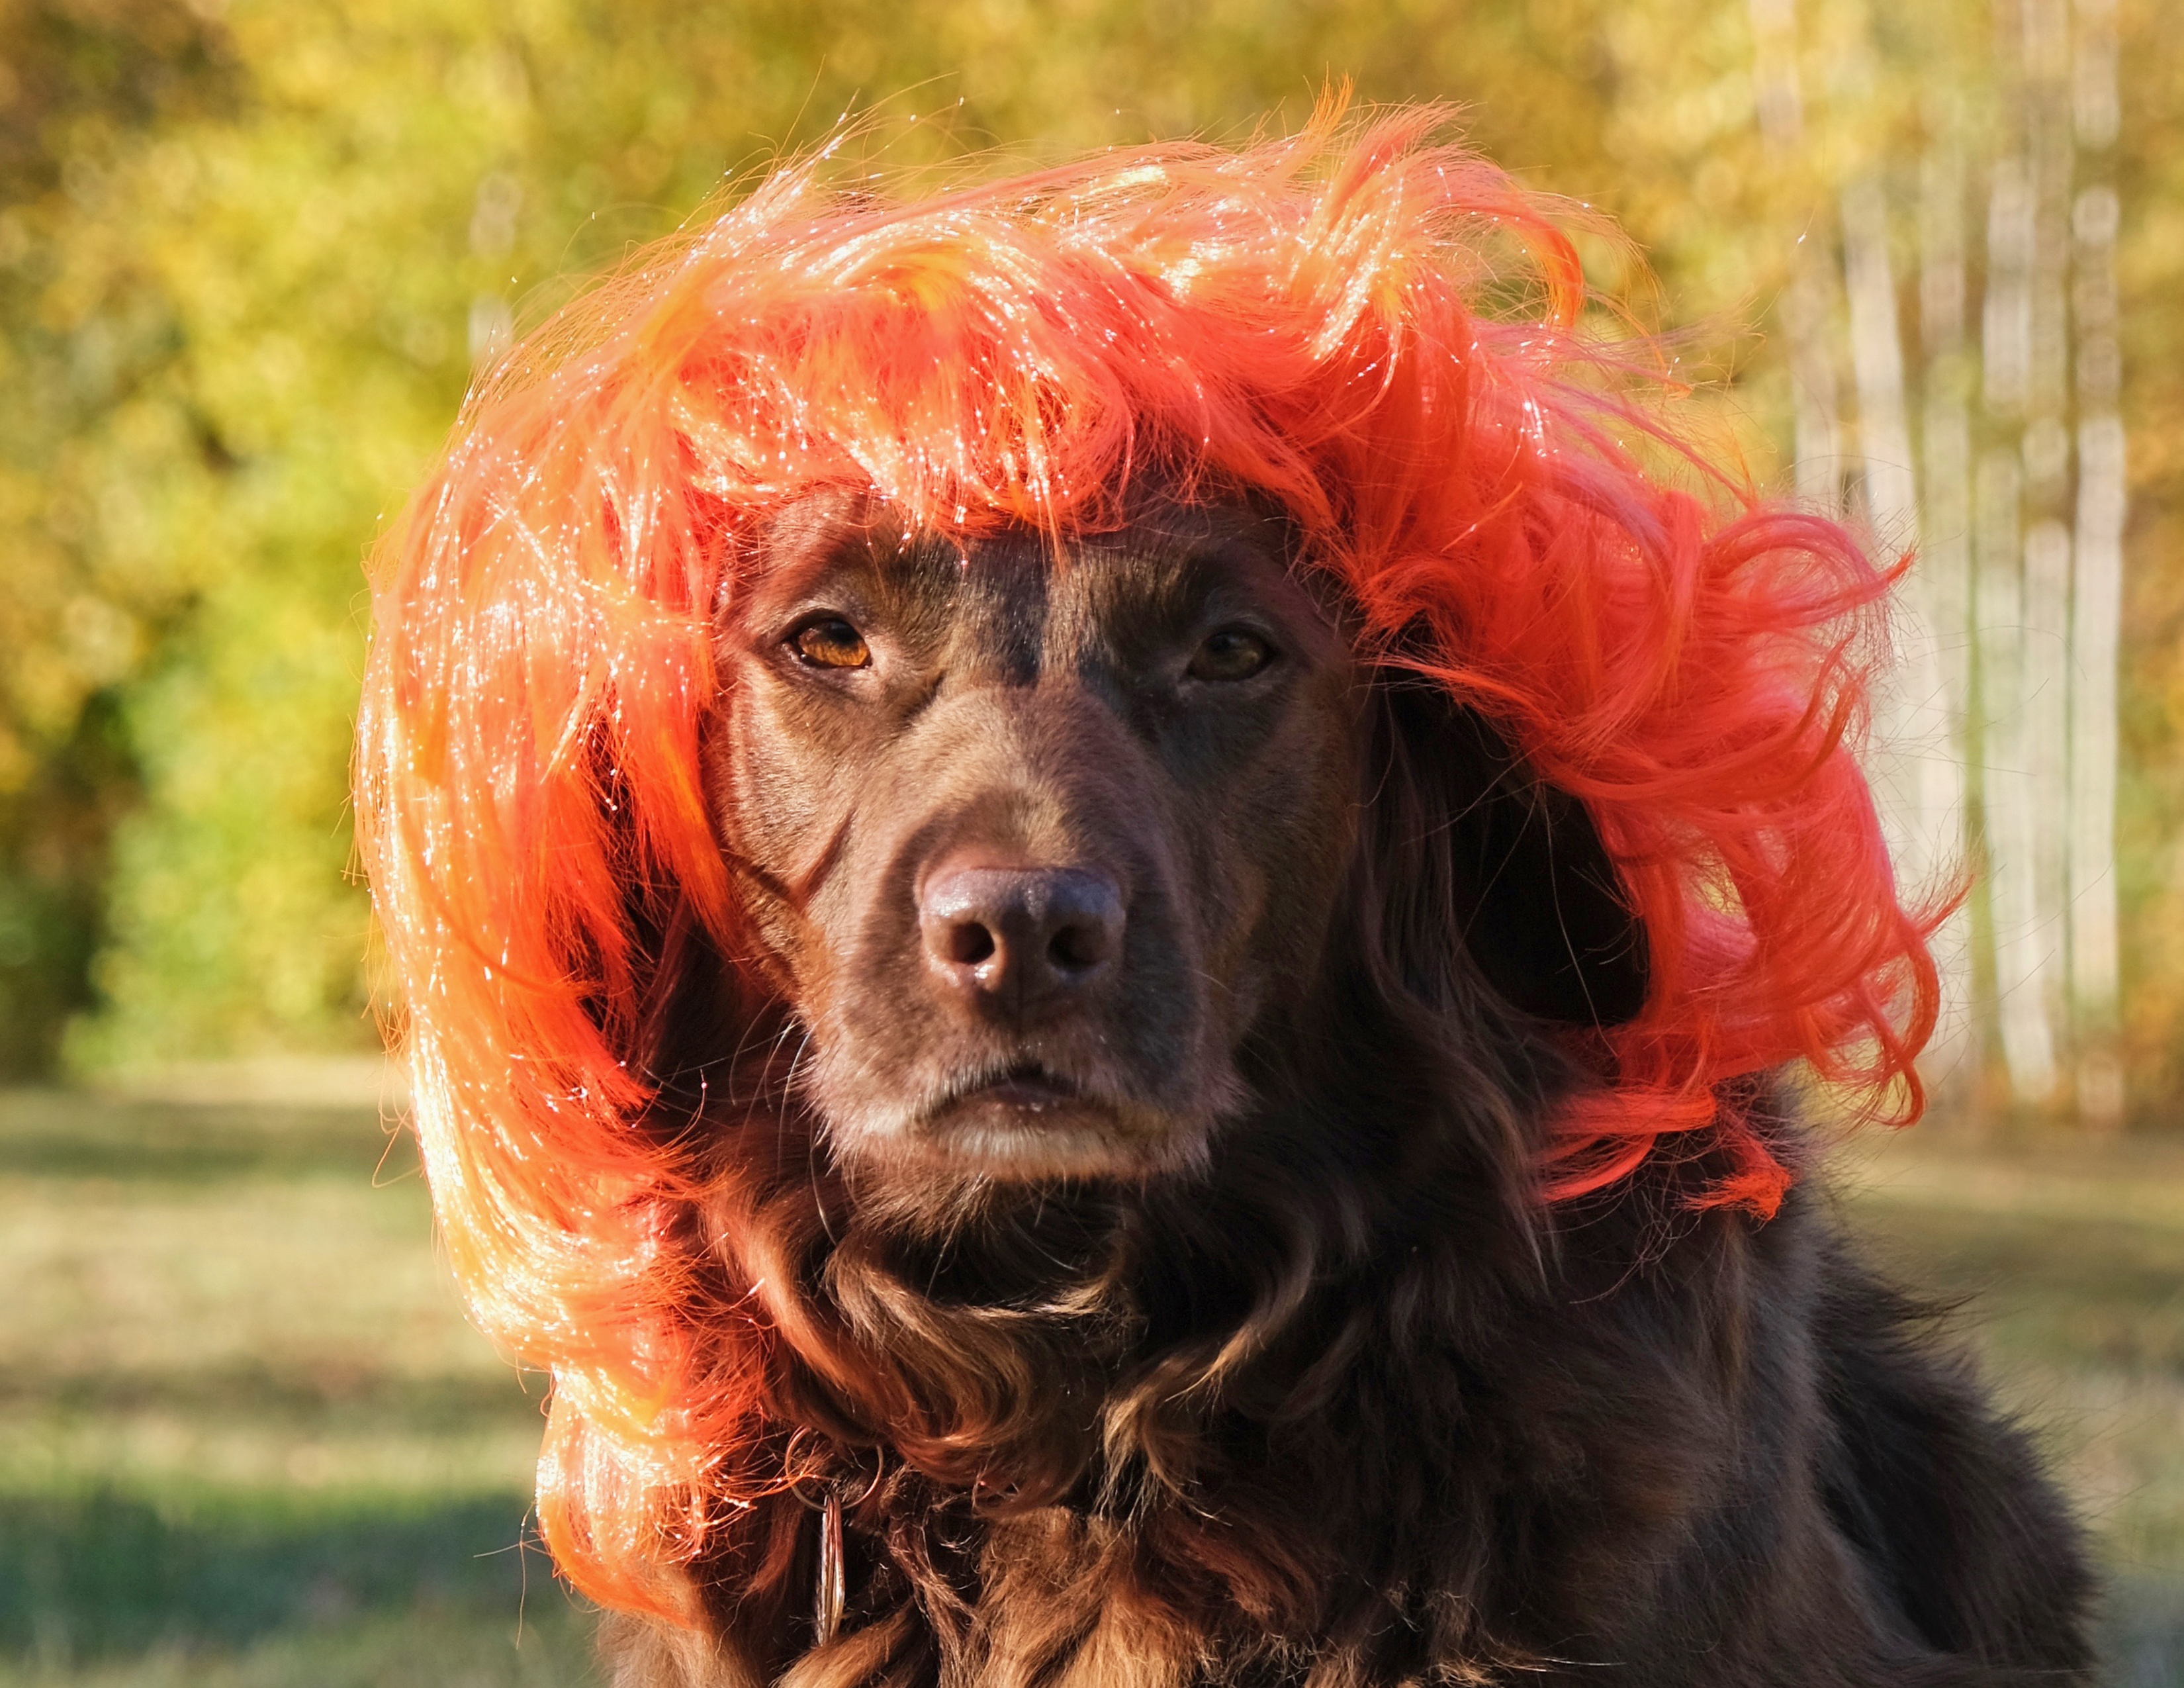
Cull those favorites. Most printed calendars feature a horizontal or “landscape” orientated image, so vertical images that can’t be cropped to fit are out unless I leave a lot of white space on the sides of the page. I have learned the hard way that a single image for each month makes my life much easier, so in the end I’m looking for 12 photos. Cell photo photos work for calendars unless they are cropped too much. I’m looking for sharp focus, bright eyes, and a mood for the month. January doesn’t have to look like January in your calendar, but in mine, it does.
If I still don’t have a shot for a specific month, I found it helpful to search my photo files by month and year, then if still nothing, search by month alone. The month alone search is a diversionary memory trip that may induce watery eyes: When searching “May”, my results included a gazillion lacrosse games, two graduations, and generations of muddy dogs.
Select a printer and calendar design. Options abound. I’ve tried several print sites, but I’ve used Nation’s Photo Lab most recently. Last year, they messed up my order, but reprinted for free in plenty of time for me to ship for Christmas delivery. In the early years, I used Snapfish and Shutterfly because their tools for creating are easy to use and their prices are low, but I found that the photo quality wasn’t as high. Even drugstore chains and Staples will print calendars, so look online for promotions and coupons. Do a web search for “photo calendar” for websites for printers and reviews.
All the companies offer a variety of designs where most of the design decisions are made for you, so all that’s needed is a photo upload. Read the site’s directions, tips, and specifications before you choose your calendar design. Browse through the site’s styles to find one you like and make note of its title and color scheme, if it has one.
One year I chose a scrap book theme, but I found myself swapping many of the pre-fab backgrounds and trims. Each month required multiple photos. This project took me weeks to complete. I was up late. Many nights. I don’t have that much time, so I now opt for one image per month and a simple, clean layout – no backgrounds, frames, or clutter. The end result puts the emphasis on my images, not the design.
Edit photos. Now that the shell is chosen, I know what size my photos need to be and what color scheme works best in the image with the calendar design. Most of the print companies let you crop and resize photos as you create your calendar, but I like to do this ahead of time to minimize surprises when the calendar is printed. The print site’s programs will even tell you if your image file size is too small to print well. That said, I will adjust lighting and shadows before I upload into the calendar product. Even hitting “enhance” or the magic wand on your iPhone will improve the results. I use Photoshop, but the editing can be done on your smartphone. (Scroll back through my blog to see my previous posts about photographing dogs and editing photos!)
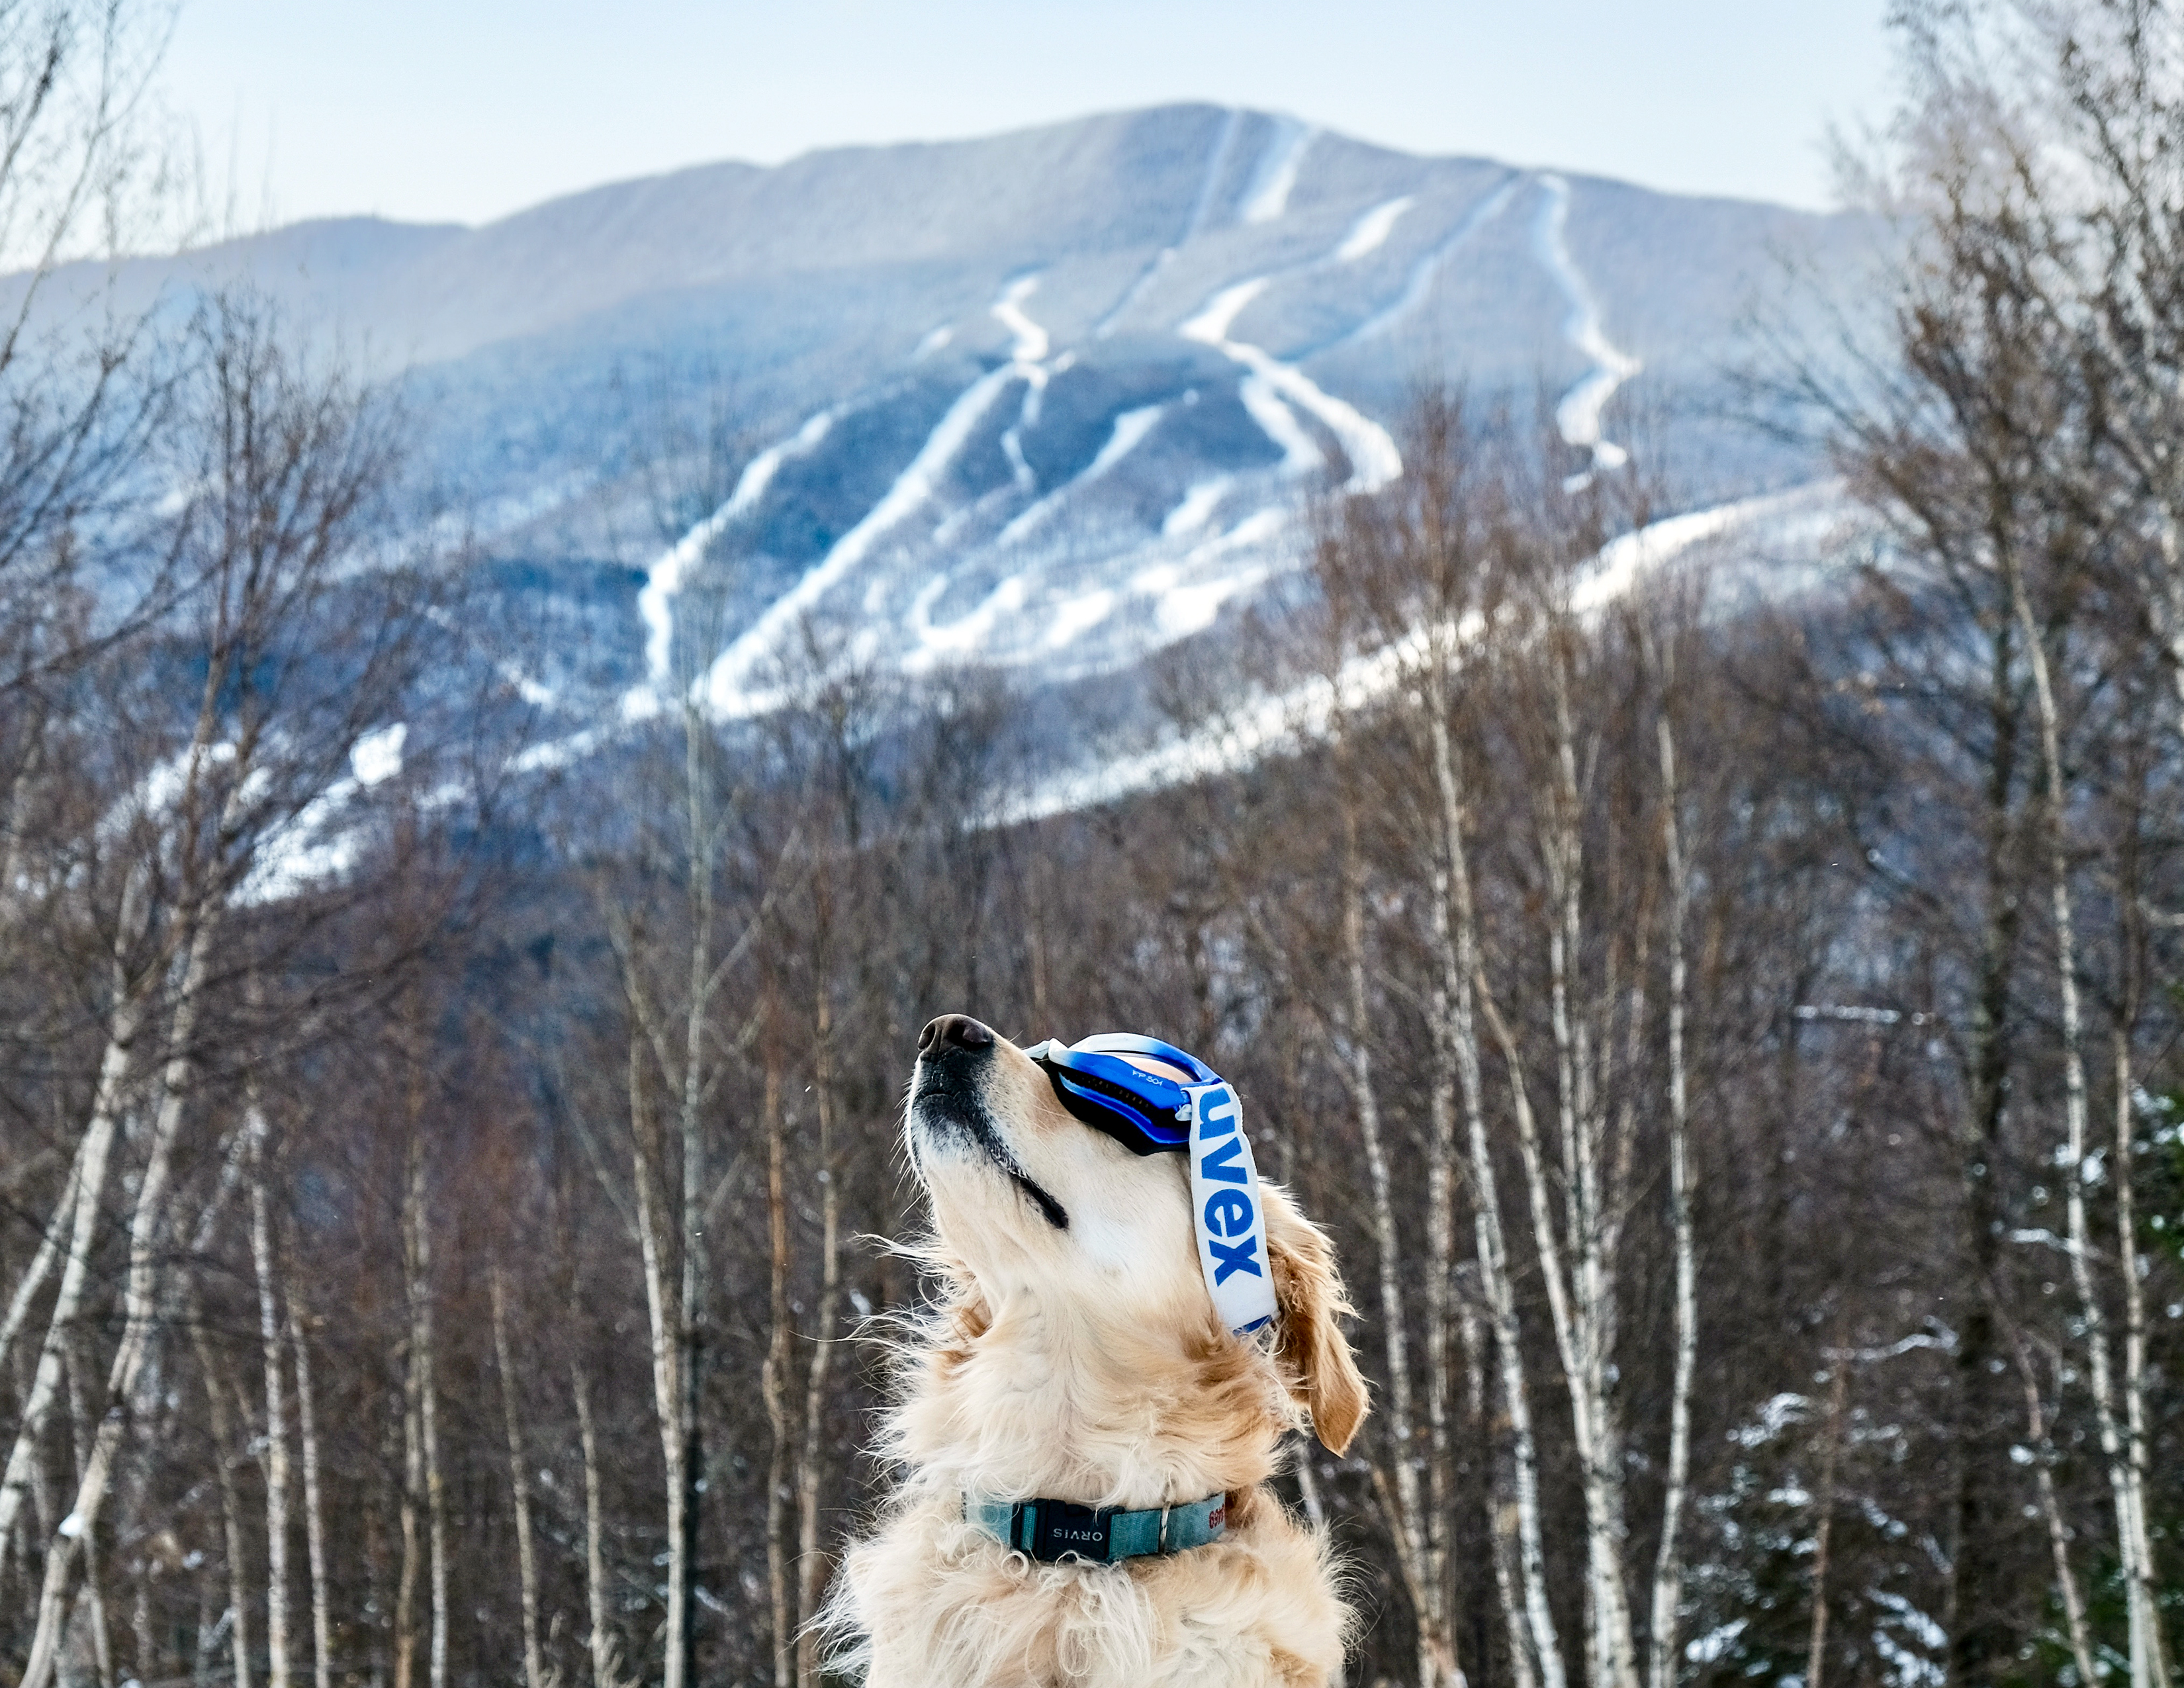
Before and After cropping for an 8.5 x 11 inch calendar (I cropped out Mt. Ellen, but don’t worry, she appears in other months):


Upload photos into print site and choose calendar product. Before I begin customizing my selected calendar design, I create a new gallery on the printer’s site by uploading images to a new gallery (folder), then pull the images from my calendar gallery as I create the calendar product, rather than uploading one image at a time into the calendar product, month by month. Creating a gallery folder saves some time. That said, sometimes I change my mind after I’ve added an image onto the calendar page, and must I return to my original folder on my computer to find a different image.
Begin calendar assembly. After all photos are loaded in my gallery folder, I select my calendar product, its size (my mom likes it to fit inside her cupboard door), and double check to make sure I’m creating something for the coming – not current – year. Then, and only then, do I begin customizing my calendar by pulling images from the gallery folder into the calendar pages. If you want to add birthdays, anniversaries, or other celebrations (I add silly holidays like “Squirrel Appreciation Day”), type those in on the appropriate days.
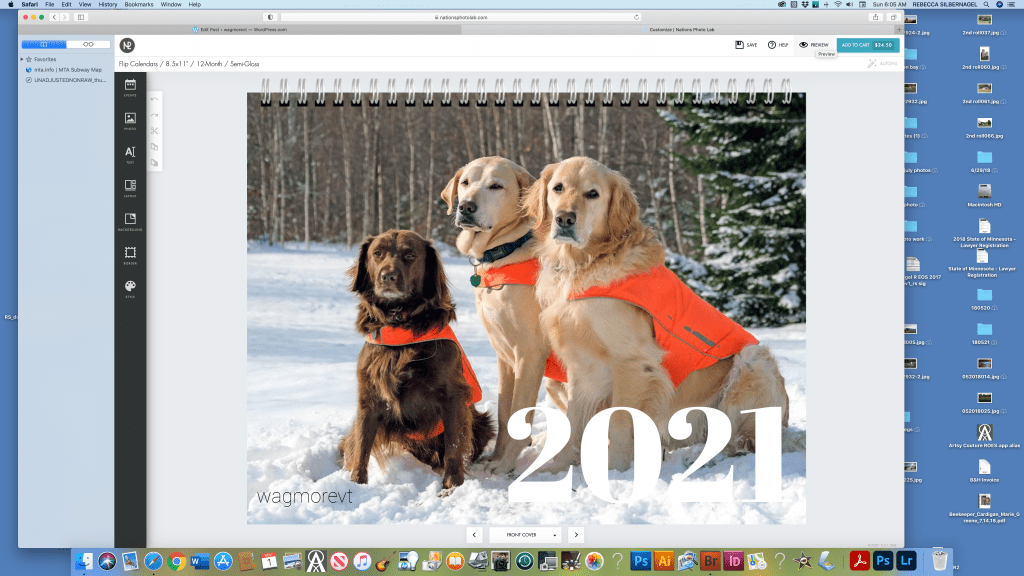
Ready to customize!
Review, edit, save, repeat. I save my project, then I let it sit. I review my work, make changes, then save. I revert to my editor role and check my work again, looking for typos, incorrect dates for events I’ve added, and photo alignment issues. When I’m done tinkering, and I have received a good promo code, I add the calendar to my cart. I usually complete the order in November so I have plenty of time to ship – and to bake cookies.
Be sure to check your printed calendar before you send it off to its recipients. If something’s not right, ask the printer for a reprint. The printer wants you to be happy, but if it’s your fault (a typo on a family birthday you added), you likely have to pay for it to be reprinted.
Please let me know how your calendar turned out! If a calendar seems like too big of a project, the photo printers offer many other gift products, from the ubiquitous mug to ornaments and home products. Or perhaps have a print made of your favorite fur-iend to give as a gift to yourself.